Table of Contents
Introduction
Never worked with Jira before? No problem. Please first read the Jira training Basics page.
In this chapter below the Jira setup for YME Logistics project is explained.
Jira projects
YME Logistics is using the following Jira-project:
| Project | Key | Project type and purpose |
| LOG | Jira Software Project |
YME Logistics (LOG)
Users can create a new issue via the Yamaha Motor Europe support portal, via this portal you can go to the YME Service and Warranty portal to submit a request.
Instructions of the portal forms can be found here: YME Service and Warranty Customer Support Portal Guide
The  button should NOT be used for creation of a SW issue.
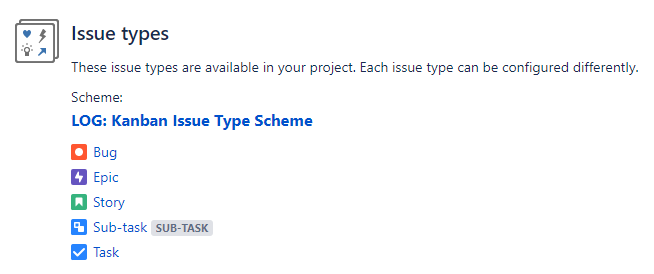
LOG Issue types
Logistics has all standard Jira Software for Kanban template Issue types active.
LOG Issues overview
LOG specific fields
- Type: Issue type is always set based upon selection in the portal, this can be a Incident or a Service Request
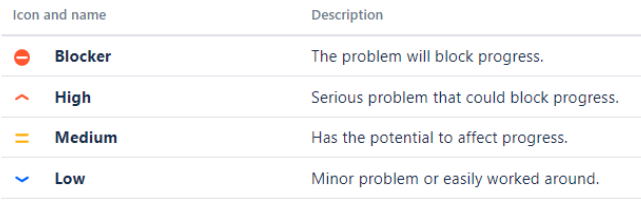
- Priority: By default issues are set to Low
- Department: Department of the reporter of the issue.
- Company: Company of the reporter of the issue.
- Yamaha Team: Responsible team that will handle the ticket, will automatically set based on the customer request through the portal
- Category Warranty: Used to indicate the Warranty category of the request
- Category Technical: Used to indicate the Technical category of the request
- VIN: Field linked to the Jira customer portal forms to document the VIN, can be searched through in Jira
- Part number: Field linked to the Jira customer portal forms to document the Part number, can be searched through in Jira
- Status: Workflow status
- Resolution: Resolution can be set when a issue will be closed.
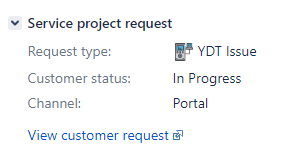
- Request Type: Customer portal request type
- Customer status: Status visible in the Customer portal. This does not always corresponds directly with the issue workflow status.
- Channel: Portal or e-mail request
- View customer request: link directly to the Customer portal request. This link can be shared if a customer need to access a specific issue.
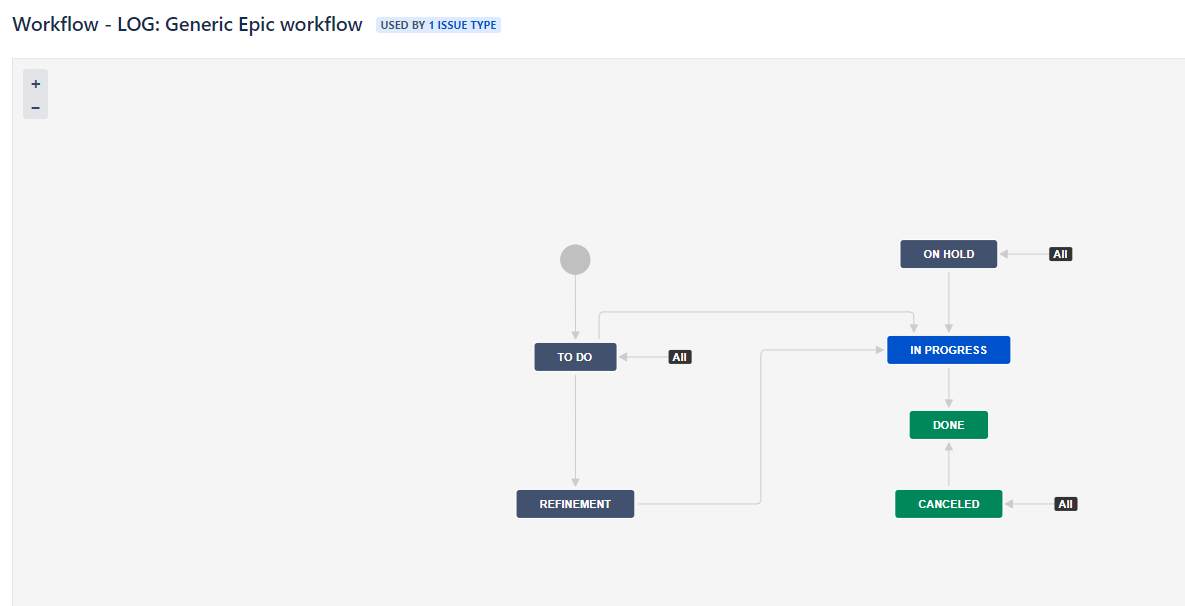
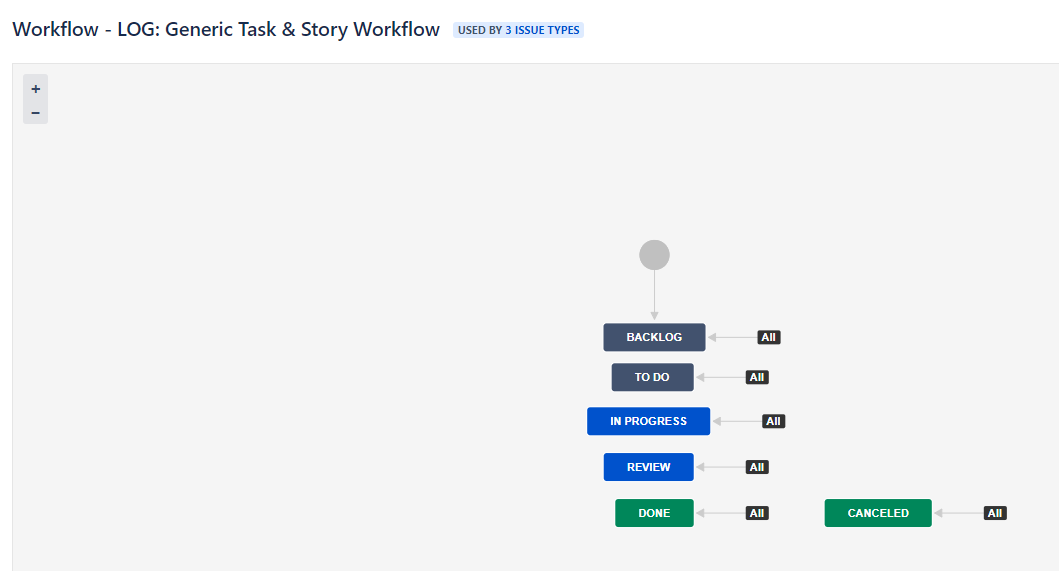
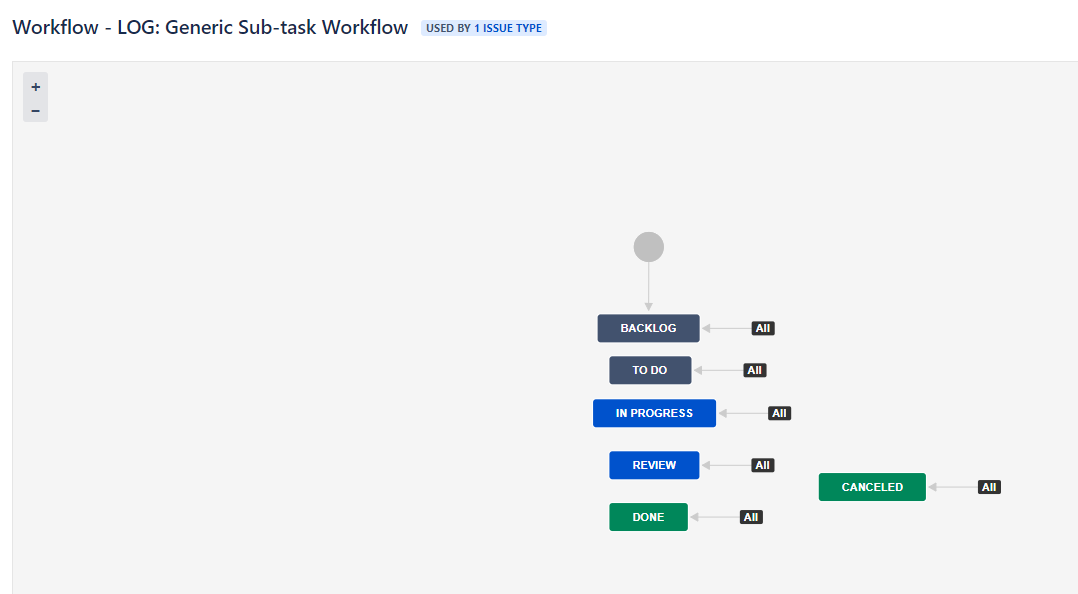
LOG Workflows
LOG project contains three active workflows that is used by all teams and has been activated for Incident and Service Request.
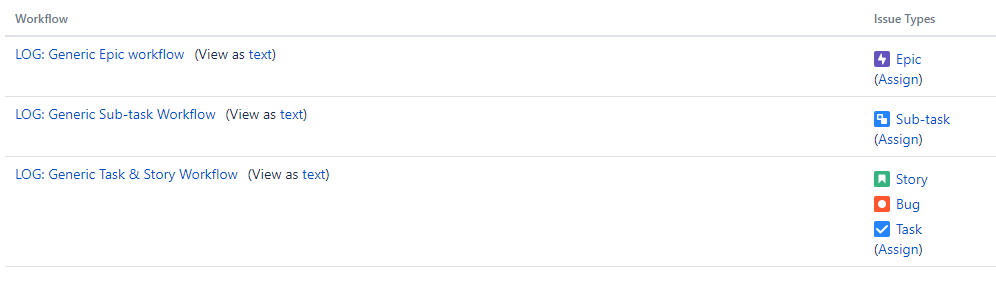
Workflow for the Epic
Workflow for the Task, Story and Bug
Workflow for the Sub-task
Statuses
- Filling user attributes first status for incoming tickets. Background process is running to collect user data and fill other fields automatically. No action should be taken when a ticket has this status.
The ticket will automatically move to next status Awaiting assignment. - Awaiting assignment Ticket is ready to be assigned to a team (Yamaha Team) /assignee
- In Progress When starting to work on a ticket use the 'Start progress' button, ticket will automatically be assigned to the current user.
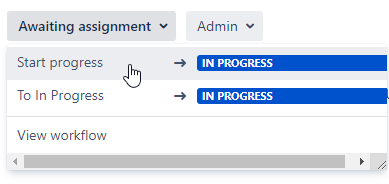
From all statuses you can always go back to status 'In Progress' , use transition 'To In Progress' for this
From In Progress you can also go back to status 'Awaiting Assignment'. The assignee is then automatically removed.
- From status In Progress several Awaiting statuses can be set:
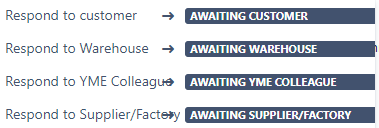
Awaiting Customer used when more information/response from a customer (Reporter or Requested participant) is required in order to move forward with a issue.
When a customer responds the ticket will automatically be changed back to status 'In Progress'
Awaiting Warehouse used when more information/response from Warehouse is required. When response is received, change ticket manually back 'To In Progress'.
Awaiting YME Colleague used when more information/response from YME colleagues from another division/department is required. When response is received, change ticket manually back 'To In Progress'.
Awaiting Supplier/Factory used when more information/response from a supplier or factory is required. When response is received, change ticket manually back 'To In Progress'. - Closed
The issue is considered finished, the resolution is correct. Issues which are closed can be reopened. P&A customers support will inform the customer and close the ticket.
Ticket assignment
How to add or change a assignee
From all statuses the Assignee field can be used directly in the ticket to re-assign a ticket to yourself or a colleague.
When a ticket is set to status In Progress, de current user is automatically assigned.
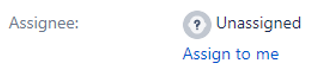
When a ticket is transferred back from status 'In Progress' to 'Awaiting Assignment' the current assignee is automatically removed.
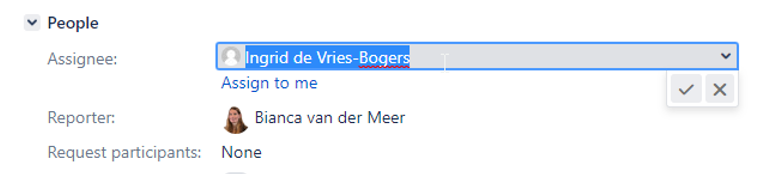
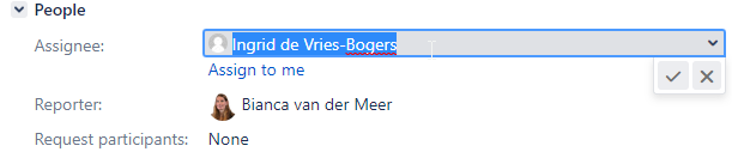
Click on the assignee field or directly on the assign to me button.
To select a colleague it is most easy to type first letters.
When you start typing, suggestions will be made of matching users. Select the user to confirm your choice.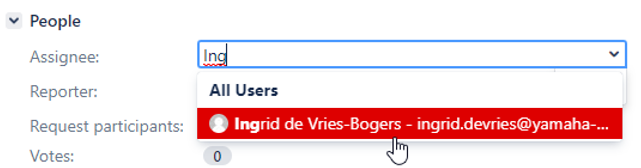
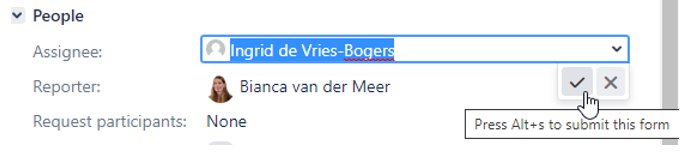
How to remove a assignee
- Click on the assignee field
- Remove the name and click
 to confirm
How to assign an ticket to different department/team
- Click on the Yamaha Team field

- Select the Yamaha Team which should take further care of the ticket
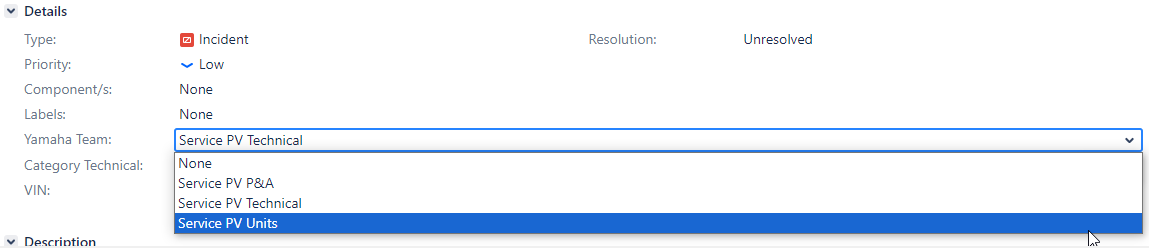
- Remove yourself as assignee (see instructions above)
Comments
How to add a comment
Use the comment screen at the bottom of the ticket.
When clicking on the Add Comment button at the top you directly jump to the comment screen.

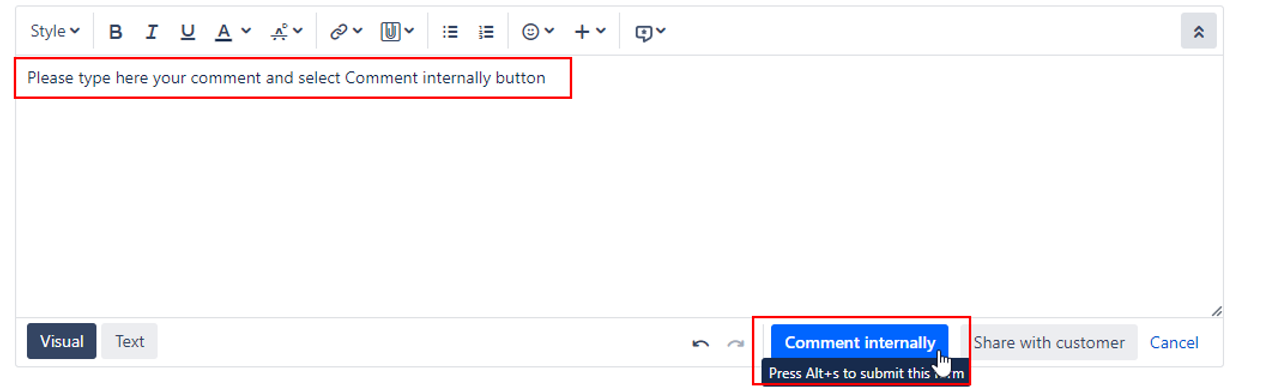
Only use the Comment internally button. These are only visible for agents and will have a label Internal after placing the comment,.
Share with customer should only be used by P&A Customer support because these message will be visible in the portal for the reporter and requested participants.
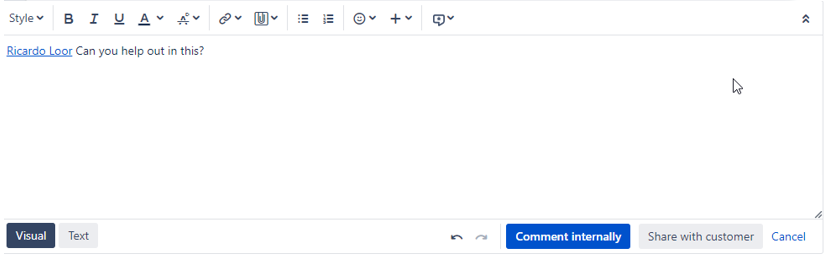
How to use @mention
By using @mentions, you can quickly direct conversation in comments to get needed feedback and keep you moving forward.
That way the issue always stays assigned to you and on your radar.
The following users can being mentioned in Jira:
- Reporter
- Commenter
- Asignee
- Licensed users: YMEUACJiraServiceDeskUsers / YMEUACJiraYMEPAServicedeskUsers/YMEUACJiraYMESWServicedeskUsers (Jira Servicedesk) YMEUACJiraUsers (Jira Software)
Participants of a ticket which are only Jira Servicedesk portal customers cannot being mentioned, unless they have left a comment in the ticket, then they will become a commenter on the ticket.
type '@' in the comment editor then start typing their name. Select the name and type your message. To send your message use Comment Internally.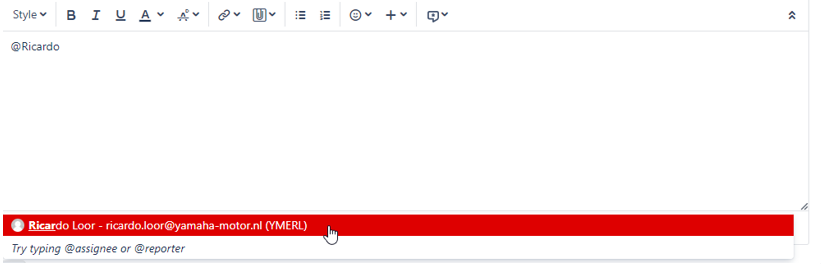
Project shortcuts
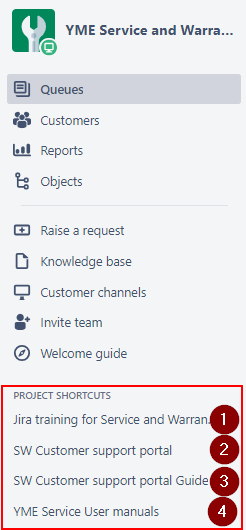
The following links are available in SW Jira-Project when opening a ticket at the left panel:
- Jira training for Service and Warranty
- YME Service and Warranty customer support portal
- YME Service and Warranty customer support portal Guide
- YME Service User manuals (in User Manuals (Public) Space
Service & Warranty Dashboards
The following Dashboards are used by Service & Warranty:
Service & Warranty Management Dashboard
Dashboard per team
- SW P&A Dashboard
- SW Units Dashboard
- SW Technical Dashboard
- SW Jira Dashboard
Dashboard overview
Filter 1 = Team (Yamaha Team) specific New incoming tickets
Can be all statuses as for the team, it will be a new ticket.
Filter 2 = Team (Yamaha Team) specific , tickets on any (a) Waiting status
Filter 3 = Team (Yamaha Team) specific, open and assignee empty
Filter 4 = Team (Yamaha Team) specific, all open
Filter 5 = Team (Yamaha Team) specific all closed
Filter 6 - 9 = Results based upon user login
Filter 7 = Activity stream for Service and Warranty support (Jira-SW) project
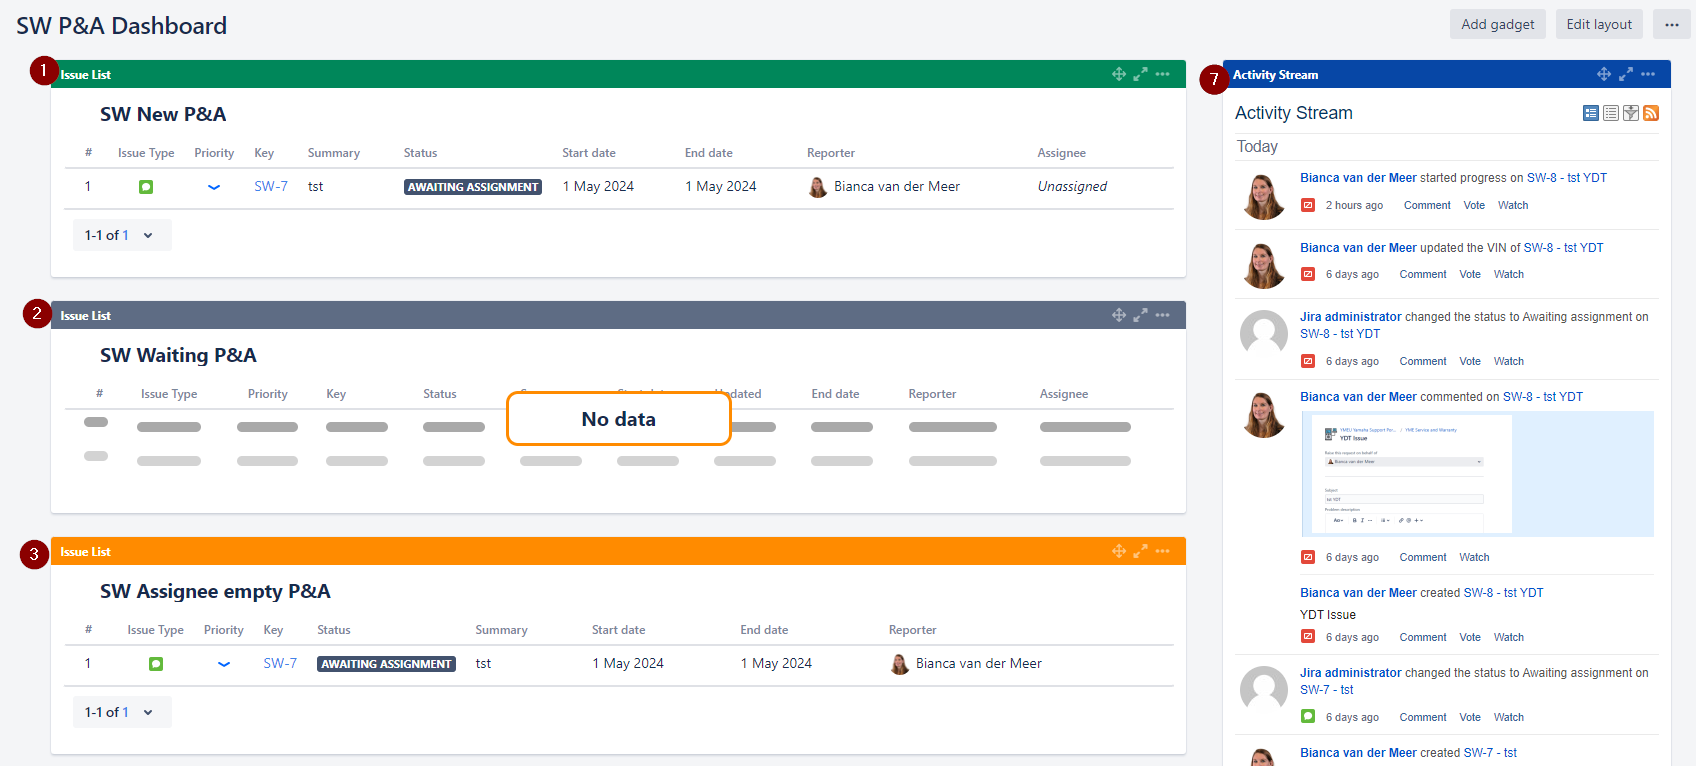
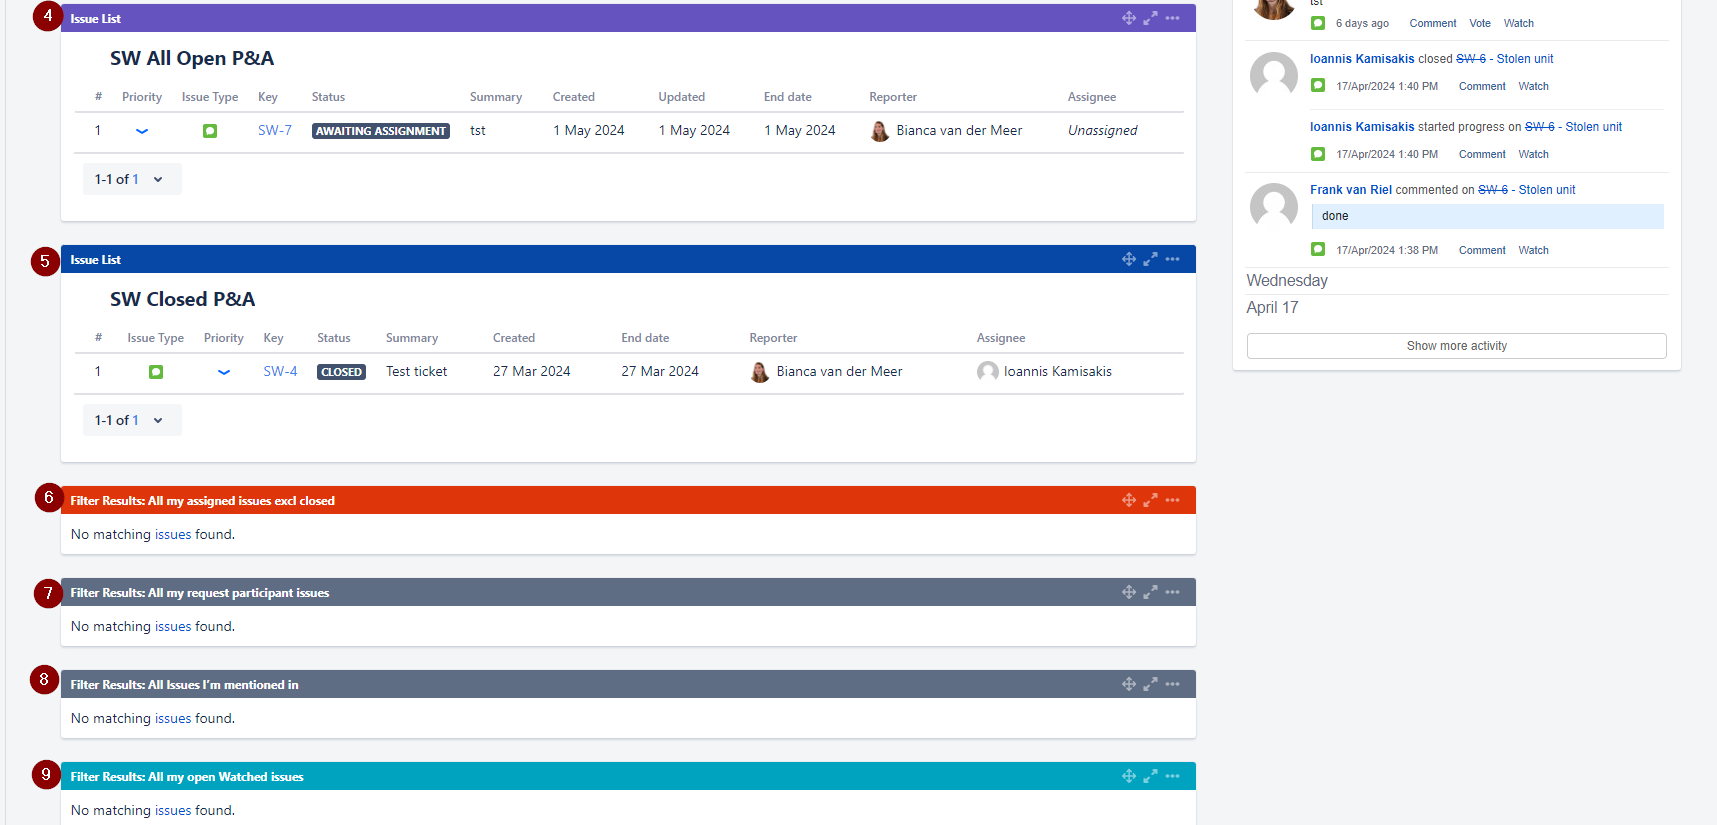
If you click on any of the ticket Issue-key’s or Summary you Open the ticket directly.
Tip: Have your Dashboard always open in one tab and open tickets in a new tab.
Opening tickets in a new tab: Right mouse click – Select open link in new tab to open a ticket or Left mouse click +CTRL button.

Add-ons used by Service and Warranty
Overview
Content Tools