YPM-105 - Getting issue details... STATUS
YPM-105 Onboarding flow Successfactors - AD
SD-47281 - Getting issue details... STATUS
SD-47284 - Getting issue details... STATUS
Onboarding
Onboarding procedure in Jira
- Onboarding ticket is created by HR, reporter = HR-Jira@yamaha-motor.eu [YME HR]
- After creation ticket will be transitioned to status Awaiting assignment
- SD-agent allocates ticket via
 button to him/herself
 - SD-agent set issue to

After transitioning the Onboarding ticket to status In Progress the Onboarding form will automatically being attached.
Please make sure you have the Forms tab open to view the form

The form is directly visible in the custor portal. - SD-agent adds Manager of the new user as Requested participant
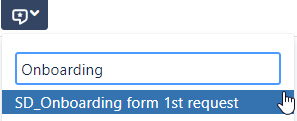
- Add in the comment section a canned response and adjust the information between brackets[ ]
- Then click on Share with Customer to send the message.

- Manager receives a notification via e-mail.
For the manager it will look like below in the Customer portal: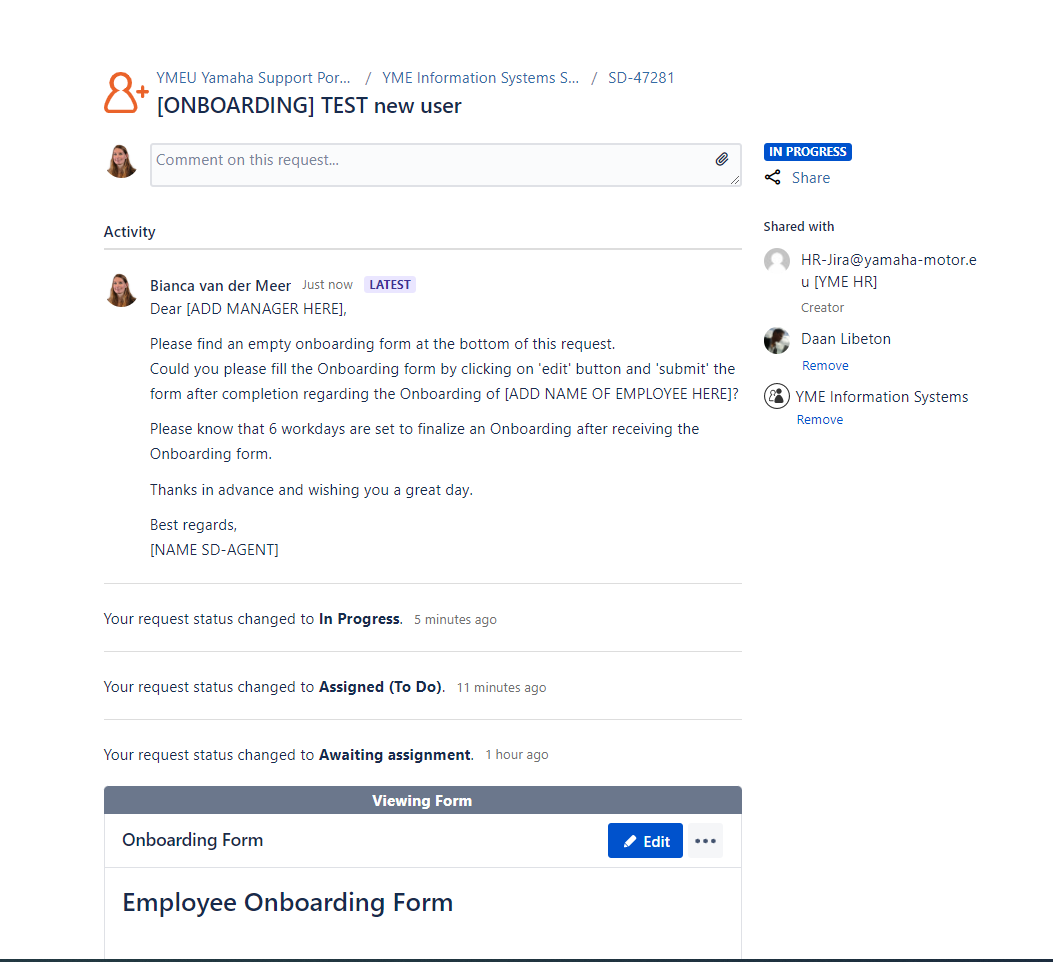
- Manager action:
- Manager saves and submit form in customer portal

The form will be locked for editing. Printscreen from original onboarding ticket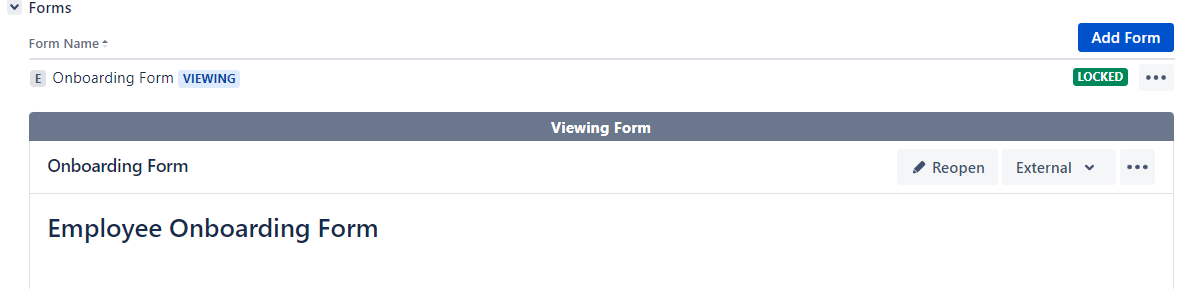
- Form will be attached as PDF. This PDF file is not visible in the customer portal, only in the original ticket for SD-agents.

- Manager saves and submit form in customer portal
- Sub-task and Onboarding can be requested according to selection made in the Onboarding Form.
- After all linked Sub-task and tasks are completed the Onboarding ticket can be closed by the SD-Agent.
- Use a canned response:
Sub-Tasks
For internal action by IT department(s) a Sub-Task can be created via the original Onboarding ticket. This is automatically done by selecting the appropriate transition.
Status: Transition: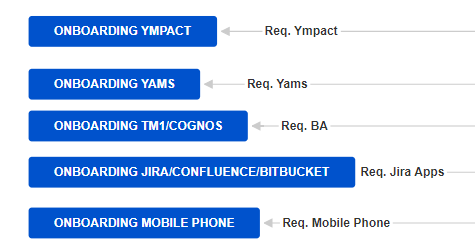
Transitions are visible in the Onboarding ticket via the (workflow)buttons
After a Subtask transition is triggered in the original Onboarding ticket the status is changed to Onboarding XXXXXXX
This status change is visible in the Customer Portal:
Example:
After the Sub-Task creation the original SD ticket automatically transitions back to In Progress.
This status change also reflects in the customer portal:
Example:
All requested Sub-Tasks can be found under Sub-Task section in the original Onboarding ticket

Status of Sub-Task can easily being tracked in original Onboarding ticket.
If a Sub-Task is completed it will look as follow in the original ticket.

Sub- Task workflow and procedure

- Status To Do: SD-Agent assigns ticket to himself/herself
- Requested action is being executed by SD- agent
- Request is closed, comment screen will pop up for final comment
- Approval: add approved comment
- Execution granting rights or Ympact : add screenshots for evidence collection J-sox, see .......
No action needed, select canceled and provide reason for cancelation.
A Sub-Task ticket is a internal task which is not visible in the Customer portal. For this reason there is no match with the (customer) request type in the customer portal.
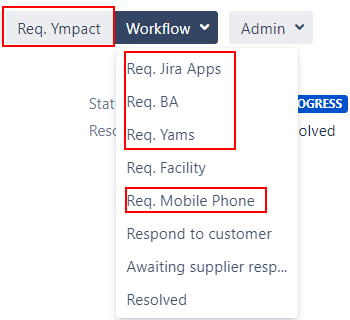
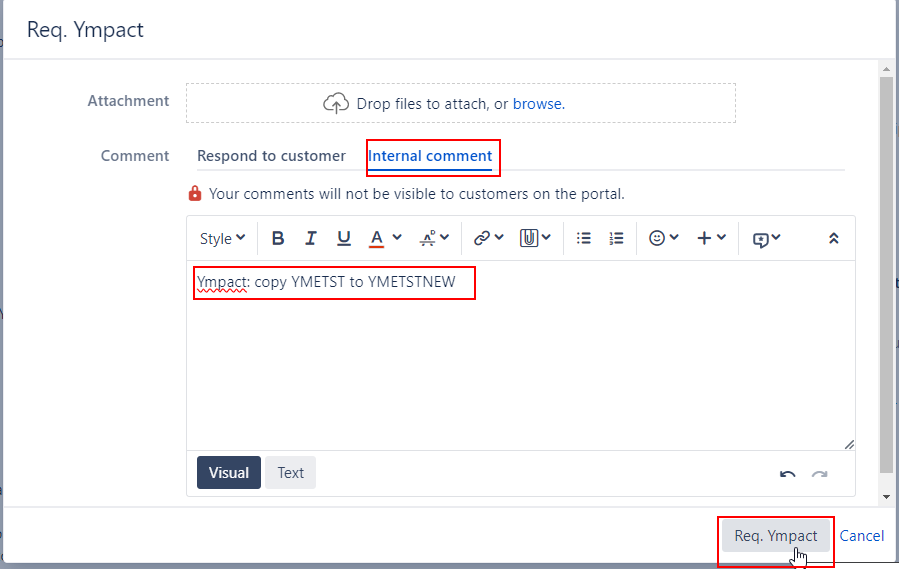
Onboarding Ympact - Req. Ympact
- Select Internal comment
- Type comment: Ympact: copy [ example user ]to [ New user]
- Select Req. Ympact
Status of Onboarding ticket temporary changes to ![]() After ticket is created it will automatically transitions back to
After ticket is created it will automatically transitions back to ![]()
This option triggers a subtask
All attachments and onboarding form from original ticket are copied to the subtask:
Description:
Please grand the new AS400 user the requested BPCS environment(s) authorization.
Added directly from last comment original Onboarding ticket
Ympact: YMETST to YMETSTNEW1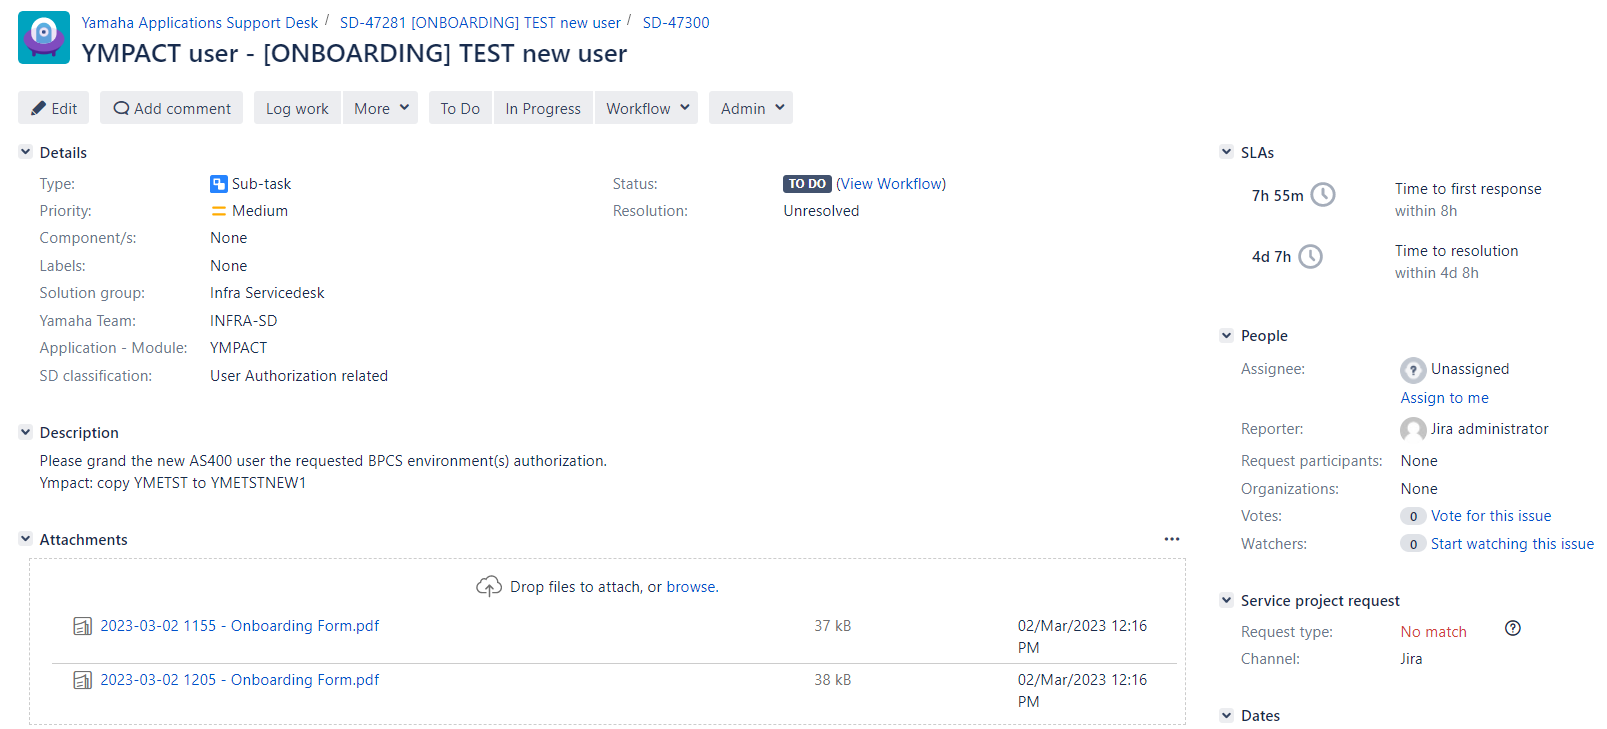

Task
For non-internal action by divisions/departments other than Information Systems a Task can be created via the original Onboarding ticket. This is automatically done by selecting the appropriate transition.
Status: Transition:

Transitions are visible in the Onboarding ticket via the (workflow)buttons
Req. Facility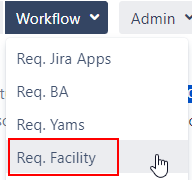
After a Subtask transition is triggered in the original Onboarding ticket the status is changed to Onboarding XXXXXXX![]()
This status change is visible in the Customer Portal:
After the Sub-Task creation the original SD ticket automatically transitions back to In Progress.
This status change also reflects in the customer portal:
Example:
![]()
All requested Tasks can be found under Issue Links section in the original Onboarding ticket

Task workflow and procedure
- Status To Do: Assignee is automatically set , same as person who takes care of Original Onboarding ticket.
- Facility/Reception informs via comment in customer portal what action has been taken: Provided Batch, Keys, Desk
- Assignee received comment notification via e-mail
- SD-Agent closes ticket via Done
No action needed, select canceled and provide reason for cancelation.
A Task is visible in the Customer portal 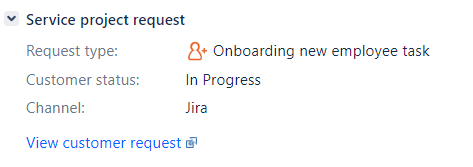
Onboarding Form
The Onboarding form has been setup in Pro Forma Forms. If it is not working properly please reach out to Bregje Mank, Daan Libeton, Jira administrator.
A open form always needs to be saved and submitted.
After Save and Submit or pressing Submit button in the form a Confirm screen will pop up.
Select Submit to finalize the Onboarding Form.
Automatically the form is being attached to the Ticket.
Form will also being attached as PDF. This PDF file is not visible in the customer portal, only in the original ticket for SD-agents.
Re-open locked form
If needed form can be re-opened by SD-agents.
- Select Reopen

- Confirm Reopen

- Form can be adjusted by reporter and requested participants or by SD-agent.
- Save changes by pressing submit

- Confirm submit
- A new PDF file will be attached with the form. See date/time stamp for form version. This PDF file is not visible in the customer portal.

Overview
Content Tools