This documents describes how to import Ympact documentation into Confluence and where extra attention is required for.
Step-by-step guide
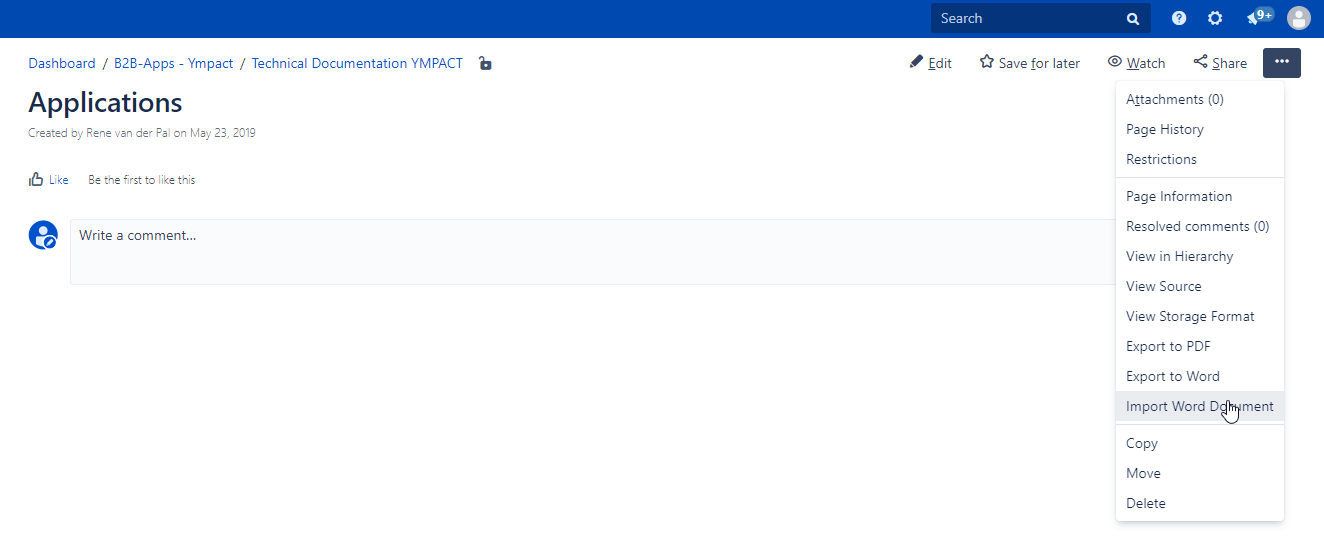
- Go to the page where information needs to be published.
- Select ... Import Word Document
- Select the file to be imported from the drive
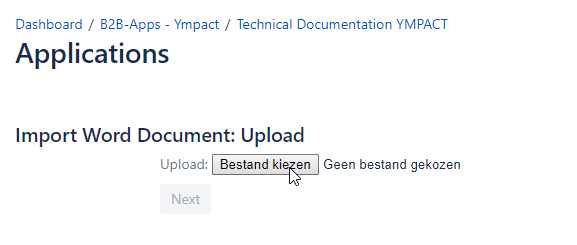

- Select 'Next' button

- Adjust root page title to new standard: Program name_Environment - Program description
Note: letters for the program must be in capital.
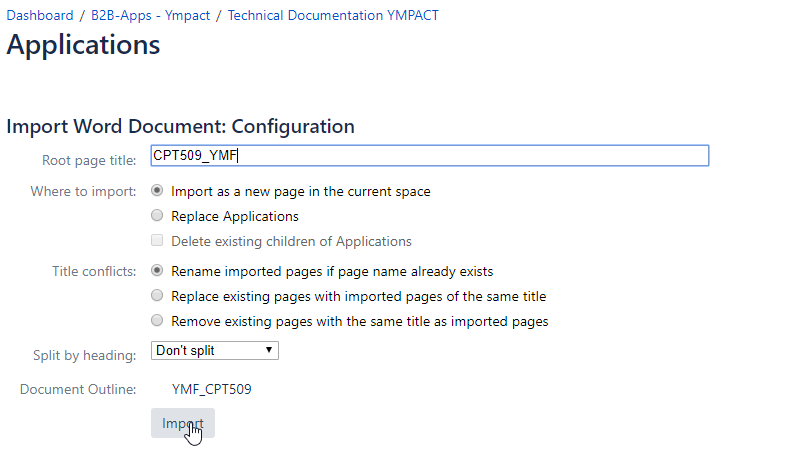
- select 'Import' Button
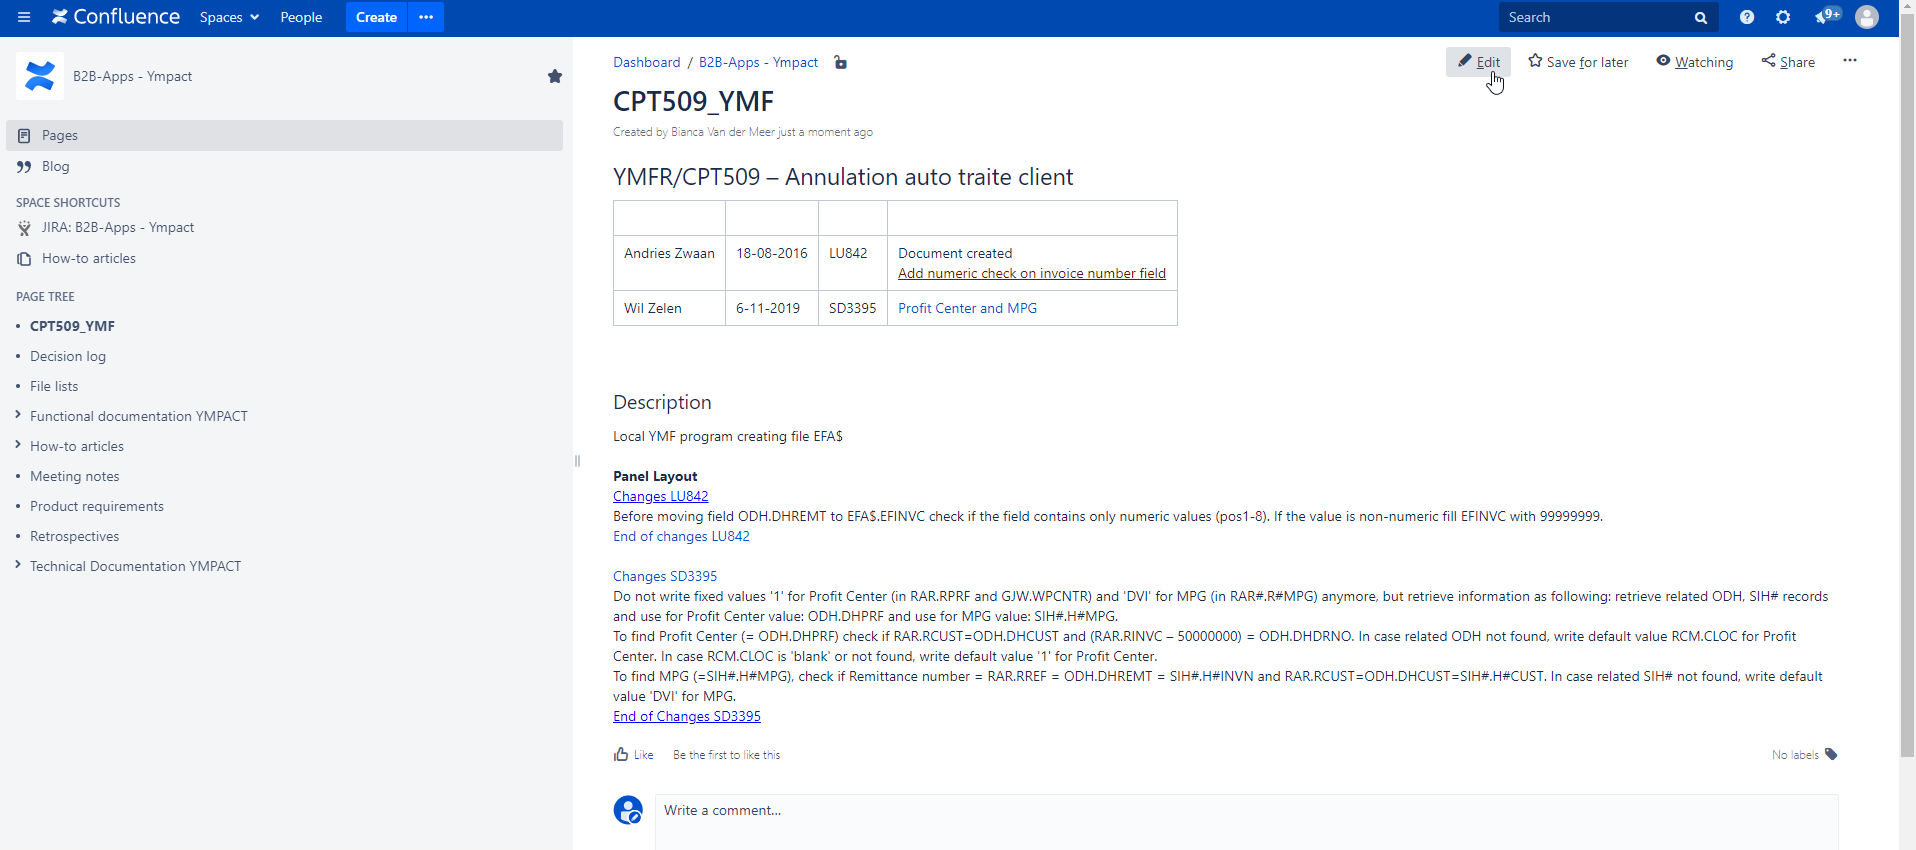
- Document is saved
- Click on the 'Edit' button
- Check file for differences with the Word file and adjust it. See Attention points for importing documents from Word.
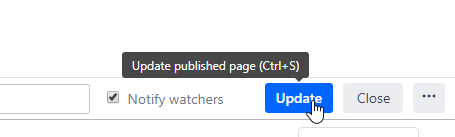
- Save file by clicking on 'Update' button below in the screen
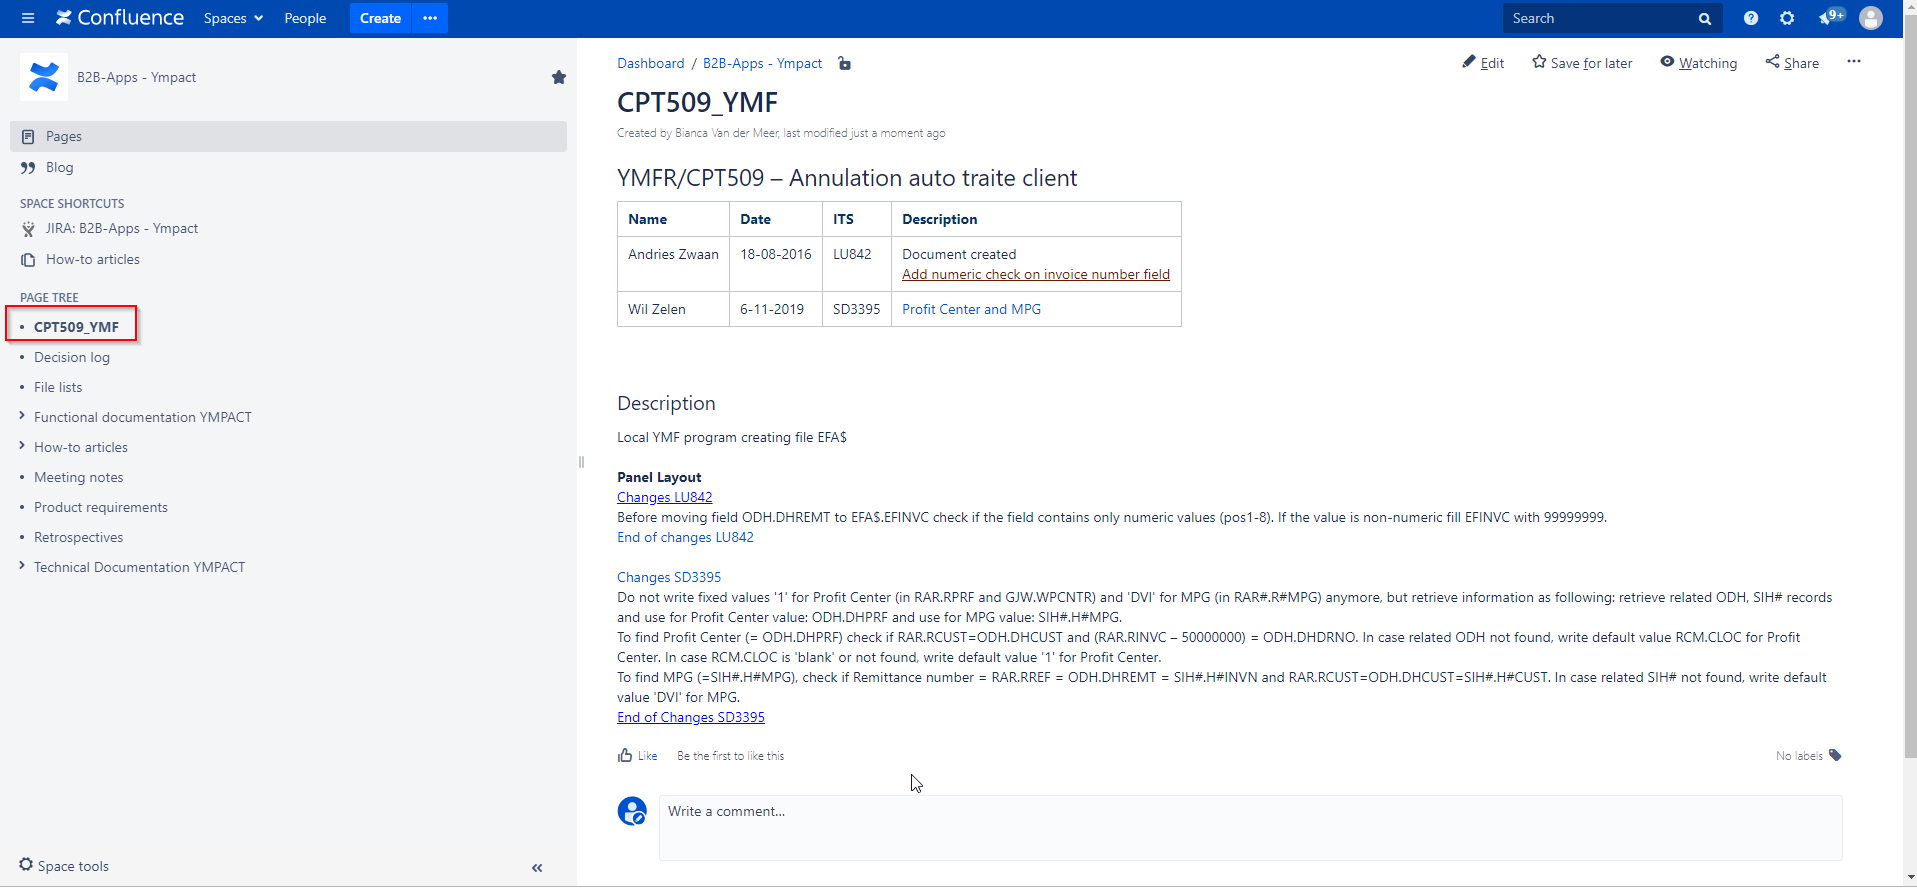
- After saving the page will be visible under the PAGE TREE but not under the correct section.
- Click on Space tool - reorder pages
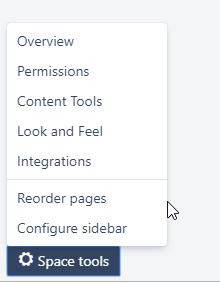
- Space tools will be opened
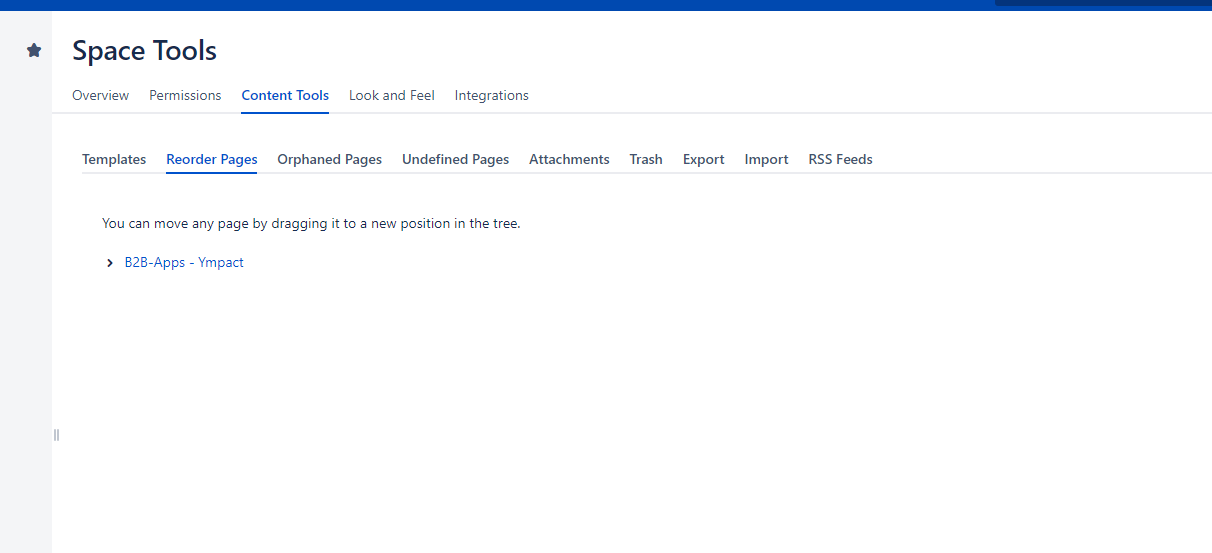
- Fold all pages to till page is open where the new page need to be stored
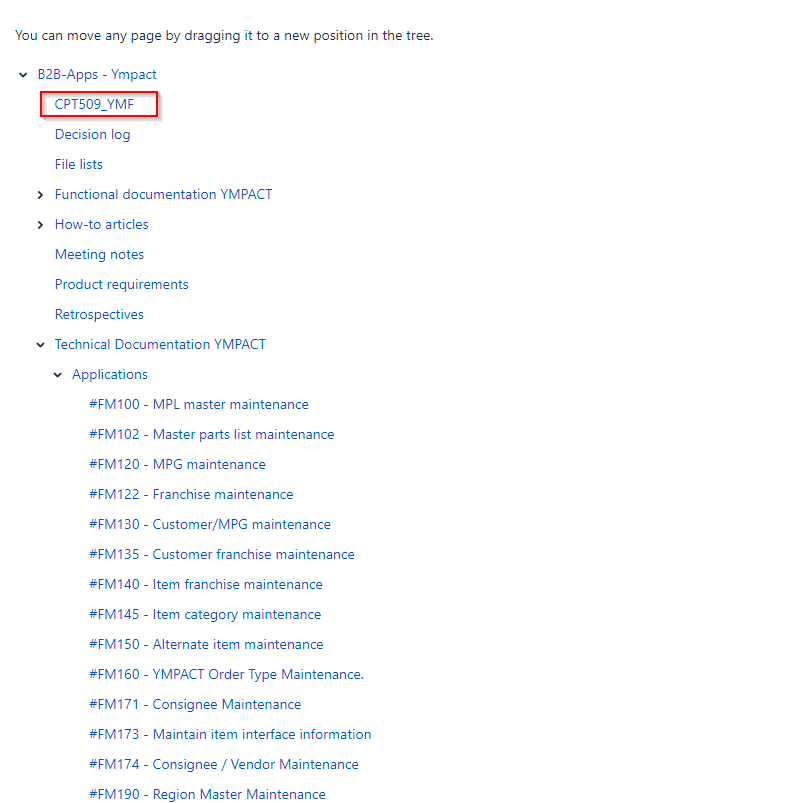
- Select the file and drag it to the new page section and drop it

- Page is now moved to 'Applications'
- If page order is not sorted alphabetically use
 to reorder the page
- Confluence part is now finished
- Last step is to move the file from the drive to the Moved to Confluence folder.
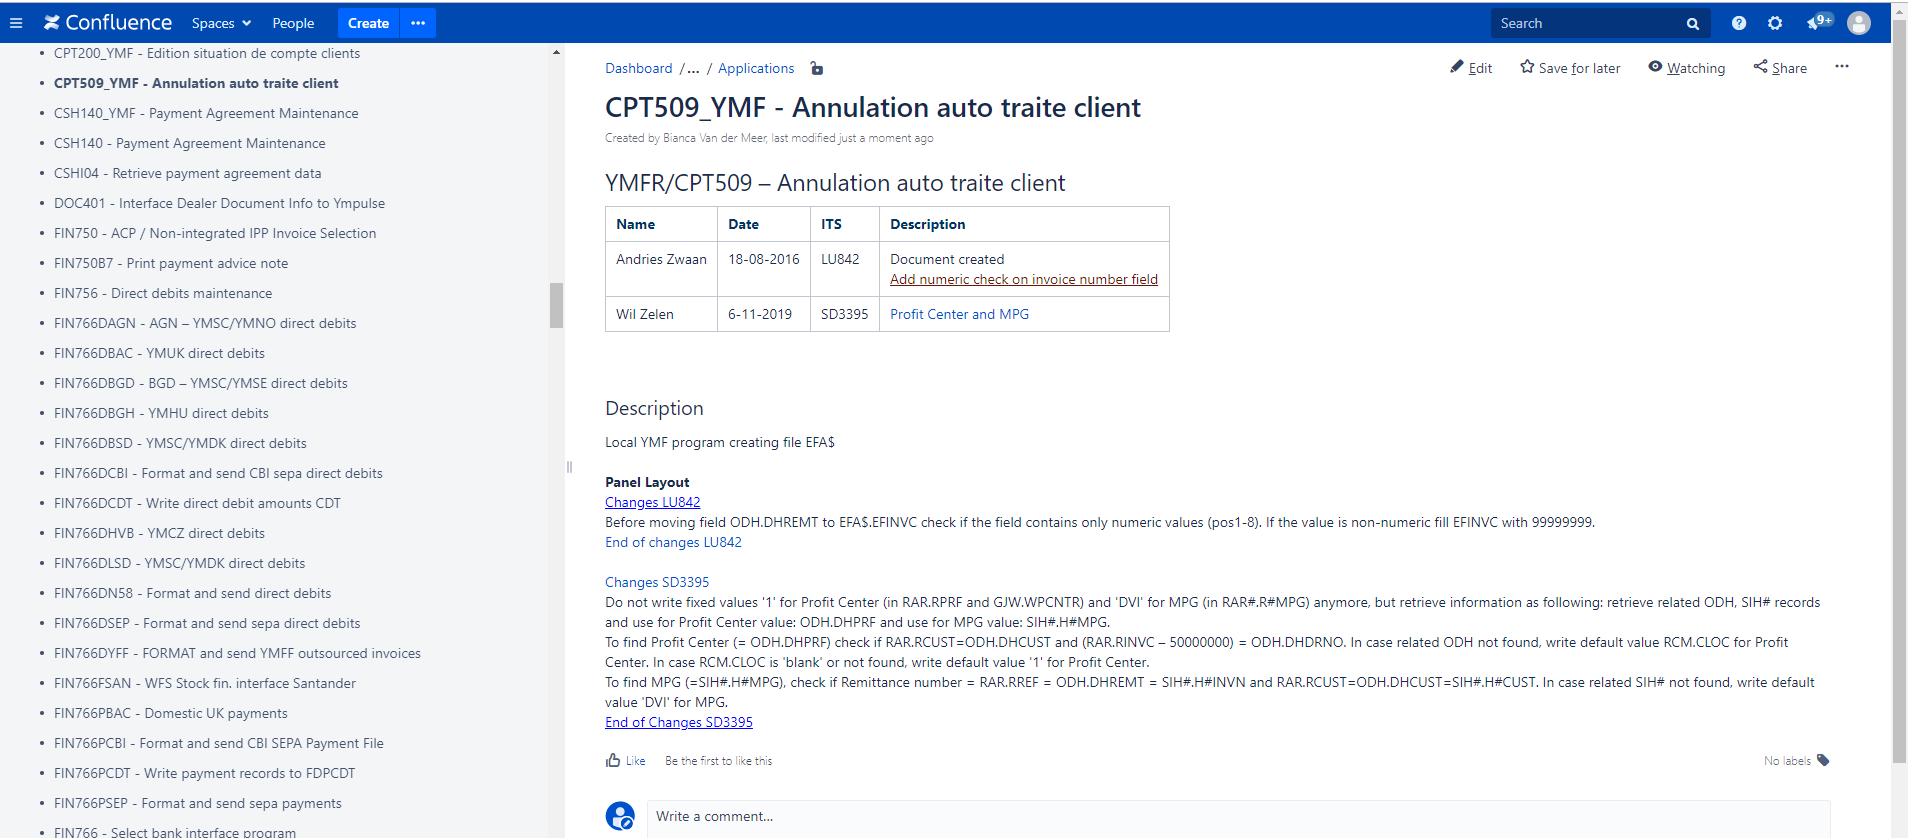
Example:

Attention points for importing documents from Word
Table headings
Table headings from Ympact documentation are in most cases with white text, this need to be adjusted to black.
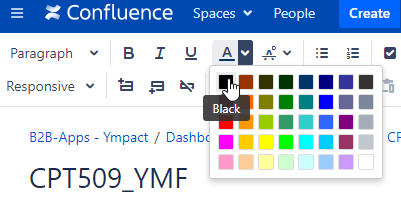
- Select the header
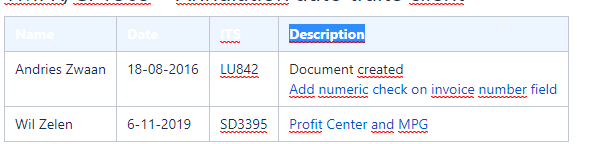
- Adjust text color to black (if already set just click on button

Panels
Panels are not imported in a correct way. Ympact is using a different font style.
Some panels are having links/anchors.
Below explanation can be found for single achors/links and multiple anchors/links
Single anchors /links:
- Example WAR300: imported
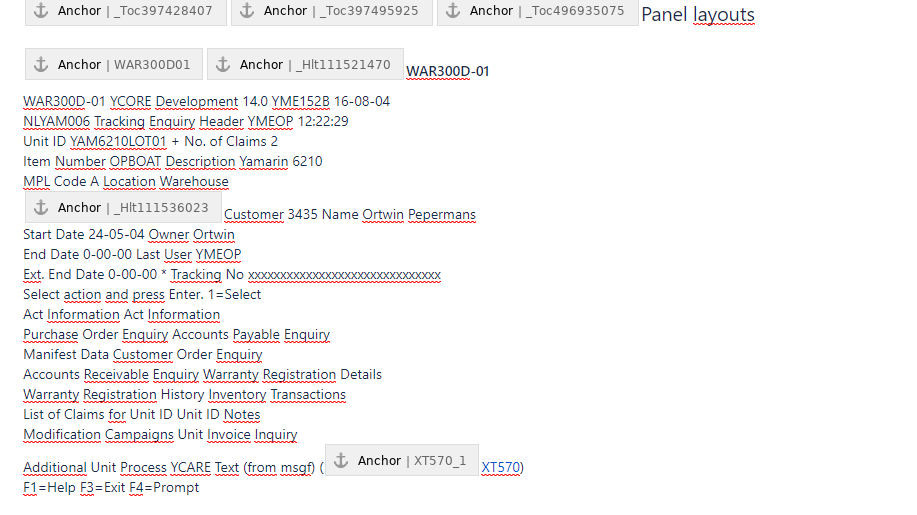
- Remove all text, only leave anchors
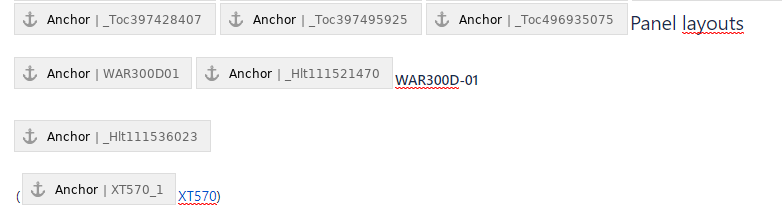
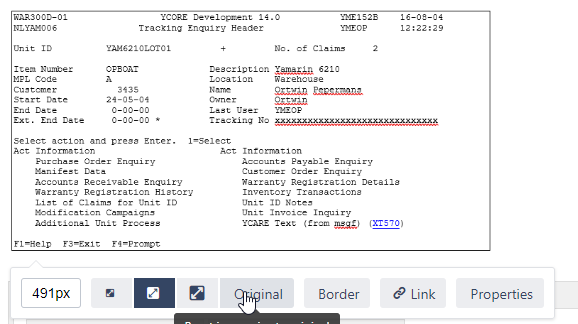
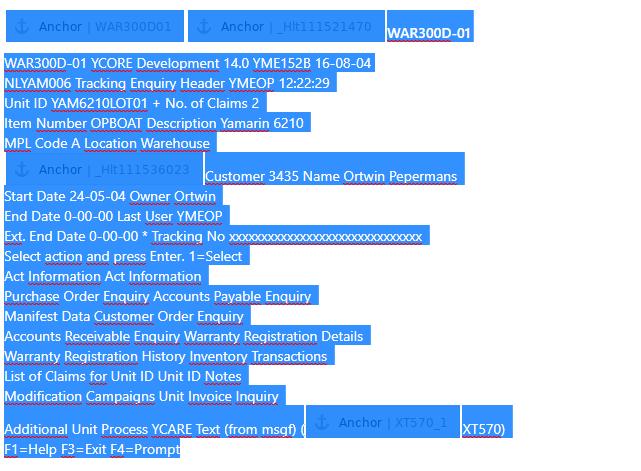
- Open original word document and Copy panel by making a screenshot of panel selection
- Paste screenshot in Confluence above the panel selection and change the size to Original.
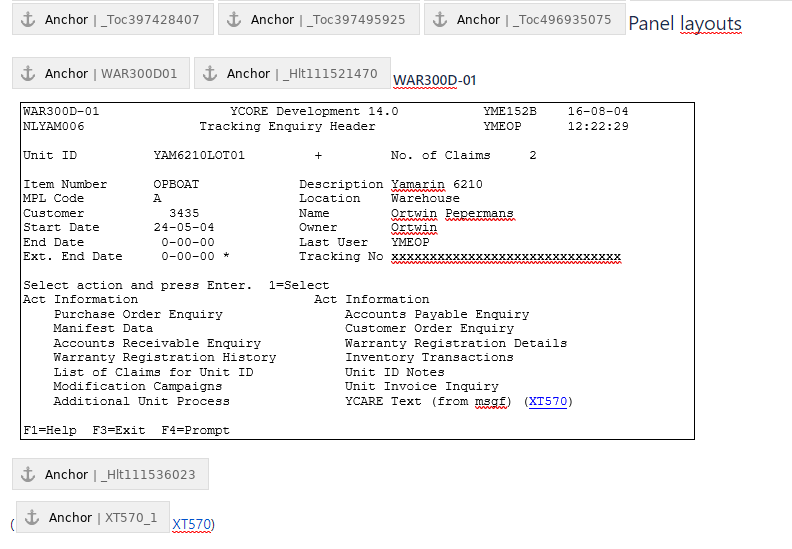
- Final view in edit mode in Confluence
Multiple anchors/links
- Select the full panel
- Select
 , Other macros
 - Select Panel (search option for Panel can be required to find it)


- Insert Panel title (same as program panel)
- Click on button 'Insert'
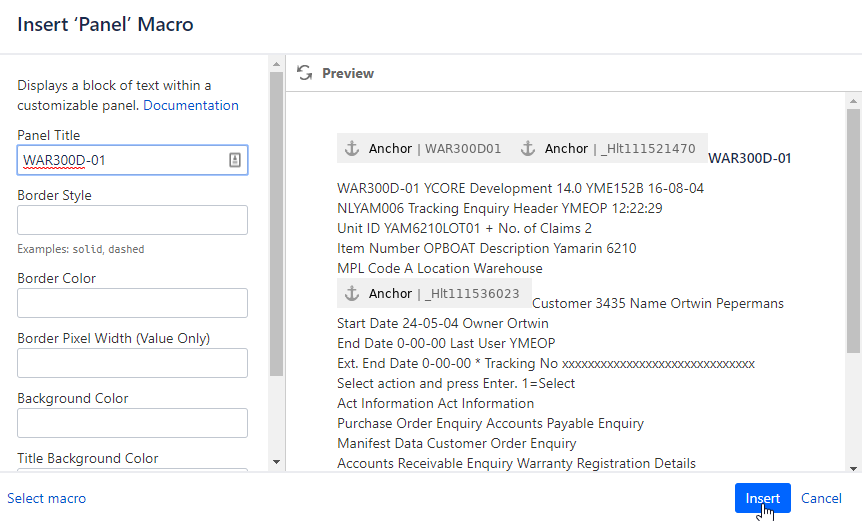
- Selected text will now be visible in a panel selection

- Open original word document and Copy panel by making a screenshot of panel selection
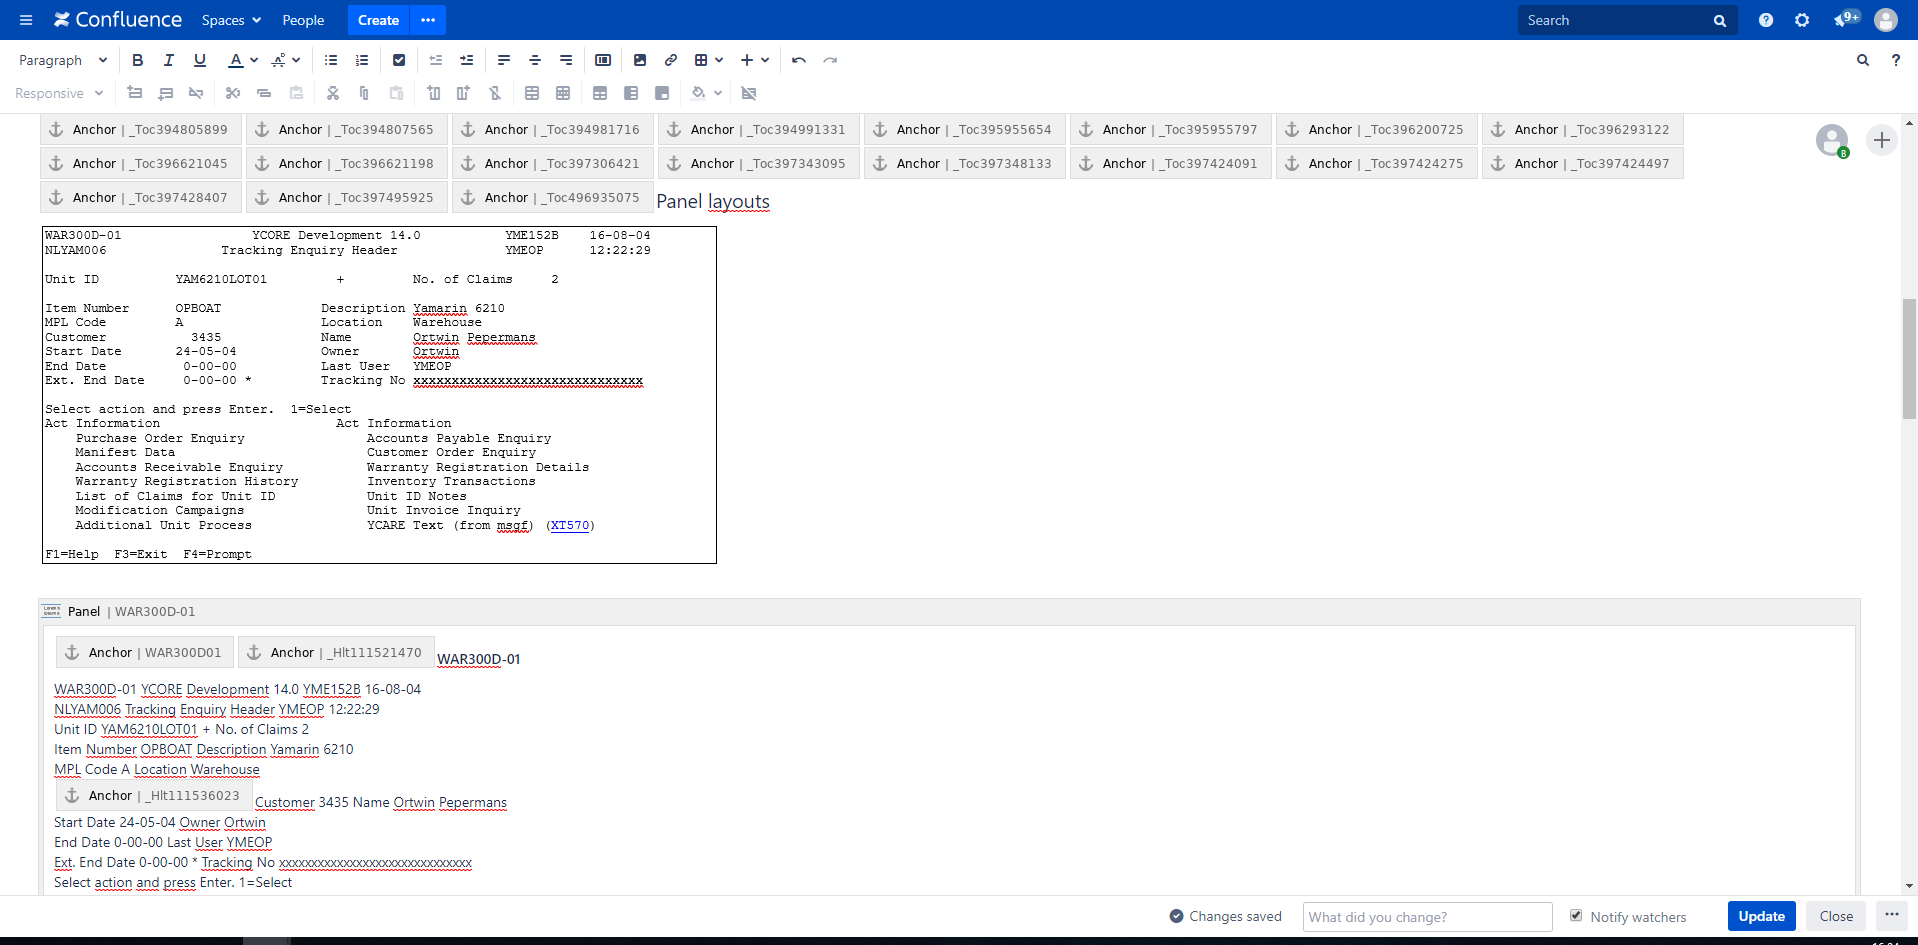
- Paste screenshot in Confluence above the panel selection and change the size to Original.
- Final view in edit mode in Confluence
Spaces
Spaces are removed after the import in same cases.
- Use Enter to move line to next line
- Use Shift+ Enter to move to next line (leave no space between lines)
- Import in Confluence

- Original file

List numbering
The list numbering is not taken over from the word document. This need to be adjusted manually.
Tips
- User enter if you want create a new line
- Use shift + enter button to add a new line
Related articles
Overview
Content Tools